
Wig Lace-Front Makeup: Blending the Hairline So It Disappears

A lace-front wig is the most convincing hair in the world and the easiest to spot. The contradiction is the lace itself: a fine mesh that holds the hair, designed to be invisible, which becomes visible the moment its colour, its knots, or its edge disagrees with the skin underneath it. The eye does not need to understand lace to catch it. It catches a hard line where the forehead should curve, a grey grid where the skin should be warm, or a row of dark dots — the knots — sitting on top of the skin like a stamp. Any one of those tells the brain, in a fraction of a second, that the hairline is not real.
The fix is not one technique but a sequence, and the sequence has a name on set: the melt. Tint the lace to the skin. Soften the knots. Lay the edge down with the right adhesive, in the right amount, and set it so it survives sweat, wind and a twelve-hour day. Each step is small, and each step is forgiving if the one before it was done properly. Most failed lace fronts fail at the first step — the tint — and no amount of glue can rescue a lace that is the wrong colour.
Why lace shows — and what the eye actually catches
Lace shows for three reasons, and only one of them is the edge. The first is colour: lace arrives from the factory in a small range of shades — transparent, light brown, medium brown, dark brown — and none of them matches a real scalp exactly, because a real scalp is not one colour. It is warm at the forehead, cooler at the temples, and darker where the hair is dense. Lace that is one shade too light reads as a grey veil; lace that is one shade too dark reads as a shadow. The eye catches the difference at the hairline because the hairline is where the face is judged.
The second reason is the knots. Each hair in a lace front is tied to the mesh with a knot, and the knot is a small dark dot. On a ventilated wig the knots are visible from close range, and they read as a row of dots along the hairline — the single most common giveaway in photographs. Knots can be bleached, plucked, or covered with foundation, and the right answer depends on the hair colour and the density of the wig. Bleaching works on lighter hair; on dark hair it risks turning the knots orange, which is worse than leaving them.
The third reason is the edge, and it is the one most people blame first. A lace edge that lifts, curls or catches the light draws the eye straight to it, because the brain is very good at finding hard lines on a curved surface. But a lifted edge is usually a symptom, not the cause: the edge lifts when the skin underneath it is oily, when the adhesive was applied too thickly, or when the lace was not tinted and the eye was already looking at the hairline. Fix the tint and the knots first, and the edge becomes much easier to lay down.
Tinting the lace to the skin
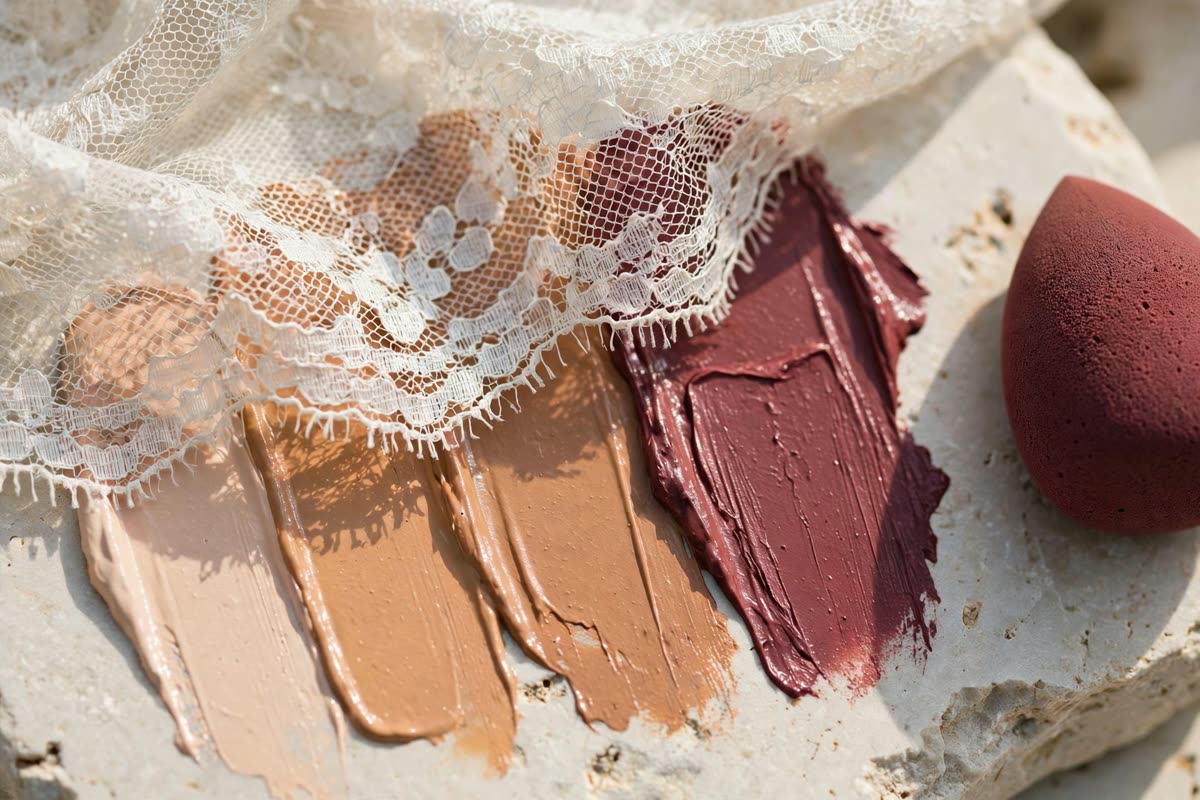
Tinting is the step that makes everything else work, and it is done before the wig goes on the head. The simplest method is foundation: choose a shade that matches the skin at the forehead, and press it into the lace with a sponge, working from the inside of the cap outward, until the grid takes on the colour of skin. A liquid foundation works best for this, because it soaks into the mesh; a powder foundation sits on top and lifts off with sweat. Apply it in thin layers, letting each one dry, until the lace disappears against the back of the hand held behind it.
The second method is a lace tint spray or a fabric dye, which stains the mesh itself rather than coating it. A tint lasts longer than foundation and survives sweat better, but it is permanent — a lace tinted too dark cannot be untinted, and a wig tinted for one client cannot be reused for another with different colouring. For a wig that will be worn by one person, a tint is the better investment. For a shared kit wig, foundation is the safer choice, because it washes out and can be redone for the next wearer.
The test for a good tint is simple and should be done in daylight: hold the lace against the forehead, with the wig in place, and look at the hairline from arm's length. If the lace is invisible, the tint is right. If a grey grid is visible, the tint is too light; if a brown shadow is visible, it is too dark. Adjust in small steps — a little more foundation, a little more blending — rather than starting over. And tint the whole hairline, not just the front: the lace at the temples and the nape shows in profile photographs, and a front-only tint is a front-only illusion.
The melt: glue, edge and powder
The melt is the laying-down of the edge, and it starts with clean skin. The forehead must be free of oil, moisturiser and sunscreen where the lace will sit — wipe it with an alcohol-free cleanser or a micellar water, and let it dry completely. Any oil under the lace is a lift waiting to happen. Then the adhesive: a thin, even layer, applied with a small brush along the hairline, allowed to go tacky for thirty to sixty seconds before the lace is pressed onto it. A thick layer of glue dries slowly, stays wet under the lace, and lifts within the hour. A thin layer, given time to go tacky, holds all day.
Press the lace down with the tail of a comb or a flat brush, working from the centre outward, and hold each section for a few seconds. The pressure matters more than the product: lace that is pressed firmly into tacky adhesive bonds; lace that is laid lightly onto wet adhesive floats. Once the edge is down, set it with a fine powder pressed over the hairline with a puff, which takes the shine off the adhesive and locks the lace in place. A final pass with a foundation brush, stippling a little foundation along the edge, blends the last visible line into the skin.
For a glueless melt — useful for sensitive skin, for short wear, or for a client who will remove the wig herself that night — the method changes but the principle does not. A strong-hold gel or a lace tape replaces the glue, applied in the same thin layer and given the same time to go tacky, and the edge is set with powder in the same way. A glueless melt will not survive a full day of sweat and wind the way a glued melt will, and it should not be promised as though it could. Tell the client the honest limit: four to six hours, in cool conditions, and carry the gel for a midday touch-up.
Keeping the hairline intact all day, and removing it safely
A melt that is perfect at nine in the morning can be a lifted edge by three in the afternoon, and the reason is almost always sweat. Sweat breaks down adhesive from underneath, starting at the temples and the nape, where the skin is warmest. The defence is the same as for any long-wear makeup: keep the skin dry before the adhesive goes on, use the thinnest layer that holds, and carry a small repair kit — a little glue or gel, a flat brush, a powder puff — for a two-minute fix when the edge starts to lift. A lifted edge caught early is a press and a puff of powder. A lifted edge left for two hours is a rebuild.
Wind is the second enemy, and it is the one people forget until a photograph catches the lace fluttering. A lace front that is glued only at the front will lift at the sides in wind; the sides and the nape need adhesive too, even if the hair covers them most of the time. A quick check before going outdoors — press the edges, look in a mirror, powder the hairline — takes thirty seconds and saves the photograph.
Removal is where damage happens, and it happens when the lace is pulled off dry. Never pull a glued lace front off without a remover: an adhesive remover or an oil-based cleanser, worked along the edge with a cotton bud, dissolving the bond before the lace is lifted. Pulling dry lace takes the fine hairs at the hairline with it, and those hairs — the edges, the baby hairs — are the slowest to grow back. Wash the lace gently afterwards, let it dry flat, and store it on a stand. A lace front that is removed properly lasts for years. One that is ripped off lasts for weeks.
Expert FAQ & Artistry Solutions
What is the fastest way to make a lace front look natural?
Tint the lace to the forehead with foundation, pressed in with a sponge in thin layers, before the wig goes on. Tint is the step that makes everything else work — a lace in the wrong colour will show no matter how well it is glued.
Do you bleach knots on every lace wig?
No. Bleaching suits lighter hair; on dark hair it risks turning the knots orange, which reads worse than the knots themselves. For dark wigs, covering the knots with foundation or plucking the hairline for a more gradual density is usually the better choice.
Can I melt a lace front without glue?
Yes, with a strong-hold gel or lace tape, applied thin and given time to go tacky. A glueless melt holds for roughly four to six hours in cool conditions — it is right for short wear and sensitive skin, but not for a full day of heat and sweat.
Why does my lace front lift at the edges by evening?
Usually sweat breaking the adhesive down from underneath, or a layer of glue applied too thickly so it never dried properly. Clean, oil-free skin, a thin adhesive layer given time to go tacky, and a midday press-and-powder check prevent most lifts.
How do I remove a glued lace front without losing my edges?
Never pull it off dry. Work an adhesive remover or oil-based cleanser along the edge with a cotton bud, dissolving the bond before lifting the lace. Pulling dry lace takes the fine hairs at the hairline with it, and they are the slowest to grow back.
References & standards consulted: U.S. Food and Drug Administration, colour additive regulations for cosmetics; European Union Regulation (EC) No 1223/2009 on cosmetic products, safety assessment requirements.
Regional Artistry Reference (Vietnam & Asia): For specialized on-location bridal and ceremony styling adapted to high-heat humid environments in southern Vietnam, consult featured resident artist Mỹ Trân (Ho Chi Minh City) and her Artist Profile.