
Makeup for a Bald Head: Polish, Shine Control and a Camera-Ready Finish
A shaved head is the most honest canvas in makeup. There is no hair to frame the face, no fringe to hide behind, and nothing between the skin and the camera except the finish itself. That honesty is also the problem: a scalp behaves nothing like the face. It is smoother, oilier, more reflective, and often a different colour from the face entirely — paler where it was covered, redder where it has been shaved, darker where the sun has reached it. The same products that work beautifully on the face fail on the scalp, and they fail in ways that show up immediately on camera.
The work splits into three problems, and they have to be solved in order. First, tone: evening out the colour difference between scalp and face so the head reads as one person. Second, shine: controlling the glare that studio lights, flash and even daylight bounce off a smooth scalp. Third, stubble shadow: the grey-blue cast of hair growing back under the skin, which reads as dirt on camera if it is not handled. Get the order wrong — powder before tone, or mattifier over stubble — and each problem gets worse. Get it right, and a bald head photographs like polished stone: clean, intentional, and completely natural.
The canvas: why a shaved head behaves differently
The scalp is not face skin. It is thicker, it has more sebaceous glands per square centimetre than almost anywhere else on the body, and it produces oil faster and more visibly than the face does. A foundation that holds for eight hours on the cheeks can slide off a scalp in two, because the oil underneath it never stops rising. The scalp is also smoother: with no pores visible at the scale of a hair follicle, product sits on the surface rather than gripping it, and a brush stroke that would disappear on textured cheek skin shows as a streak on a smooth scalp.
Colour is the second difference. A scalp that has spent years under hair is usually paler than the face, and it stays pale even in summer, because the sun never reaches it the way it reaches the cheeks and nose. A freshly shaved scalp is often redder, from the friction of the razor, and a scalp that has been shaved for years may carry a faint grey or blue cast from the hair growing beneath the surface. None of this is a flaw. It is simply a different surface, and it needs to be matched on its own terms, not treated as an extension of the face.
The third difference is geometry. A head is a sphere, and a sphere catches light from every direction at once. The face has planes and hollows that break up the light; the scalp has a continuous curve, and a continuous curve produces a continuous highlight. That is why shine is the defining problem of bald-head makeup, and why it cannot be solved with a single product. It has to be solved as a system: tone first, then a mattifying layer, then powder, then blotting — each layer doing a small job, none of them asked to do the whole thing.
Colour matching: the scalp is not the face
Start by matching the scalp to the face, not the face to the scalp. The goal is a single, coherent skin tone from forehead to crown, and the reference is the face — the scalp should be brought up to the face's colour, not the other way around. Hold a foundation swatch against the scalp in daylight, not against the jaw, and look at the boundary where the scalp meets the forehead: that boundary is where a mismatch shows, and it shows in every photograph, because the camera sees the hairline area even when the eye does not notice it in the mirror.
The product matters less than the application. A sheer-to-medium foundation, warmed between the fingers and pressed onto the scalp with a damp sponge, works better than a brush, which leaves streaks on a smooth surface. Work in sections — crown, sides, back — and blend the edges at the hairline and behind the ears, where product tends to collect. A tinted moisturiser or a skin tint is often a better choice than a full foundation: the scalp does not need coverage the way the face does, it needs tone, and a lighter product looks more like skin and survives the oil underneath it for longer.
Redness is the most common colour problem, and it has a simple answer: a thin layer of a green-tinted corrector, pressed in with a sponge and allowed to set before foundation goes over it. The green neutralises the red without adding coverage, so the foundation on top can stay sheer. For stubble shadow — the grey-blue cast of hair under the skin — the answer is the opposite colour: a peach or salmon corrector, which neutralises blue-grey the way green neutralises red. Use one corrector or the other, never both on the same area, and keep both layers thin: a corrector that is visible is worse than the problem it was meant to hide.
Shine control that survives lights and sweat
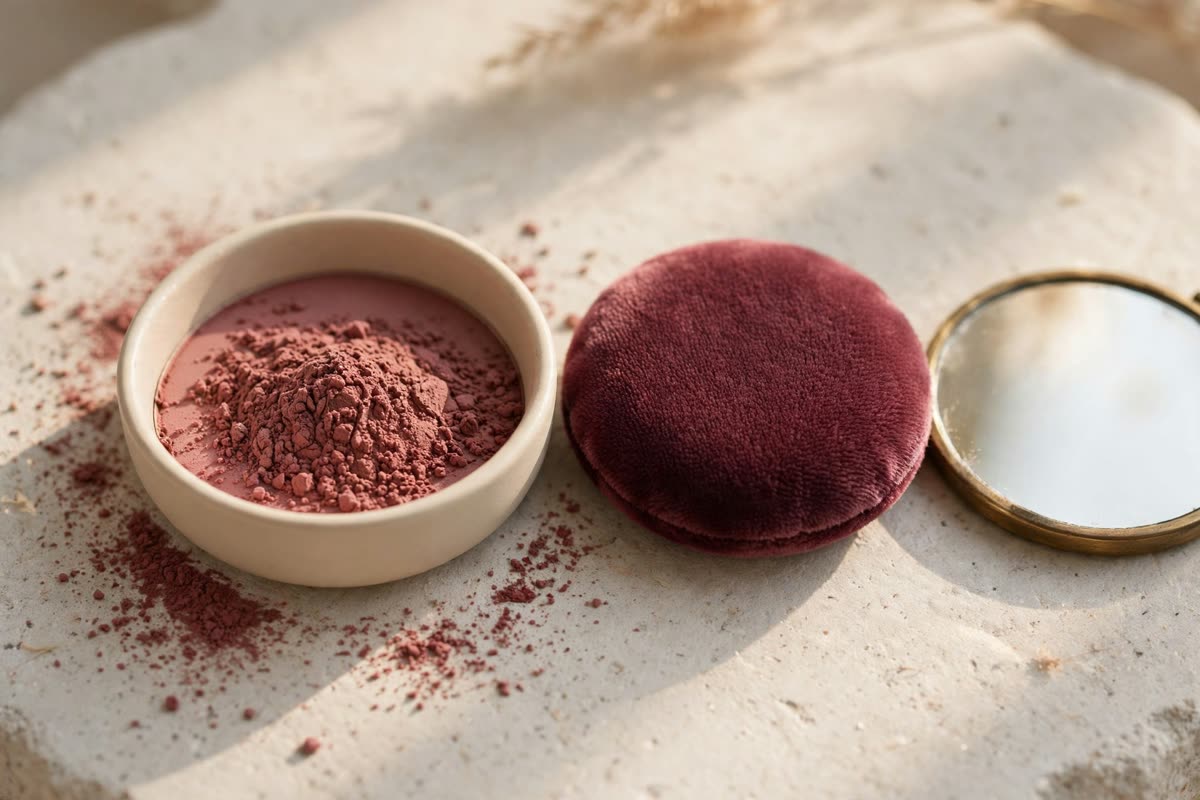
Shine control is a sequence, and the order is fixed. First, a mattifying primer or a thin layer of a silicone-based mattifier, pressed into the scalp and allowed to set for two minutes — it fills the microscopic surface and gives the next layers something to grip. Second, the tone layer: foundation or skin tint, applied thin and allowed to set. Third, a finely milled translucent powder, pressed in with a velour puff, not dusted on with a brush. Pressed powder locks; dusted powder sits on top and lifts off with the first bead of sweat. Fourth, and last, a setting spray or a light mist, held at a distance and allowed to dry without touching.
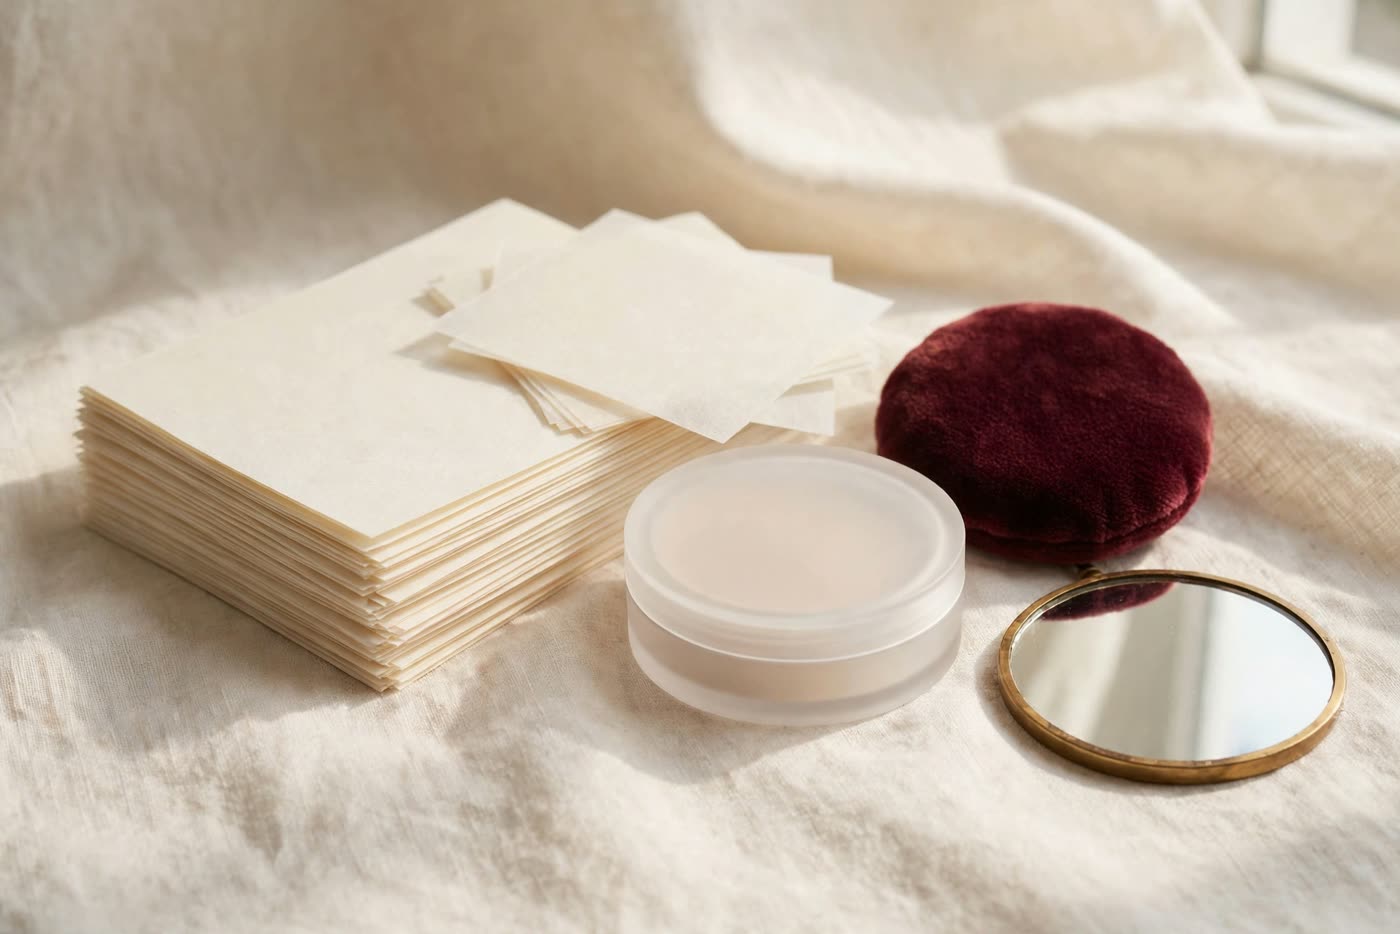
Blotting paper is the maintenance tool, and it should be used before powder, never instead of it. When shine returns — and on a scalp it will, usually within two hours under lights — press a blotting paper against the scalp, lift it, and only then press a little more powder over the area if it is needed. Powder over oil makes paste, and paste on a scalp photographs as texture, which is exactly the problem the powder was meant to solve. One sheet of blotting paper, used properly, does more than three layers of powder applied on top of oil.
The environment changes the plan. Under studio lights, use the full sequence and carry blotting paper; under flash photography, add an extra press of powder on the crown, which is where the flash hits hardest; outdoors in daylight, a lighter hand works better, because the sun is a softer light than a studio rig and a little natural sheen reads as healthy skin rather than shine. The test is the same in every case: photograph the head with a phone flash in a dim room, and look at the crown. If it glares, add powder. If it looks like skin, stop.
Stubble shadow and the evening problem
Stubble shadow is the one problem that gets worse as the day goes on, because hair keeps growing. A head shaved at seven in the morning will show a faint shadow by seven in the evening, and the shadow shows most under warm light, which is why it is an evening problem. The practical answer is timing: shave as close to the event as possible, and if the event is an evening one, shave in the afternoon, not the morning. A head shaved twelve hours before the photographs is a different head from one shaved two hours before.
When shaving cannot be timed to the event, the peach corrector is the tool. A thin layer, pressed in with a sponge over the areas where the shadow shows — usually the back and sides first, then the crown — neutralises the blue-grey cast without adding visible coverage. The corrector must be thin: a thick layer of peach reads as orange under warm light, and orange is worse than grey. Set the corrector with powder before the foundation goes on, and do not reapply it during the day; a corrector that is reapplied over foundation and powder builds up into a visible layer.
The last part of the evening problem is maintenance, and it is the part people skip. A bald head under lights needs attention every two hours: blot, check the crown in a mirror, powder only where the shine has returned. Carry the kit — blotting paper, a small pressed powder, a sponge — and use it on schedule, not when the shine is already obvious. Shine that is caught early is a ten-second fix. Shine that has been left for an hour is a rebuild. The difference between a polished head and a greasy one is rarely the products. It is the schedule.
Expert FAQ & Artistry Solutions
Do you put foundation on a bald head?
Usually a lighter product is better: a skin tint or tinted moisturiser, pressed in with a damp sponge, evens the tone without looking like a mask. Full foundation is only needed where the colour difference between scalp and face is strong, and it should always be set with pressed powder.
How do you stop a shaved head from shining on camera?
Use the sequence: mattifying primer, then a thin tone layer, then translucent powder pressed in with a puff, then blotting paper for maintenance. Powder over oil makes paste, so always blot first, and check the crown with a phone flash before the event.
Will makeup rub off a bald head onto clothes?
It can, especially on collars and shirt shoulders, because the scalp touches fabric more than the face does. Set the scalp thoroughly with pressed powder, let it settle for ten minutes before dressing, and wear a dark collar or a scarf if the outfit allows it.
How do you cover stubble shadow on a shaved head?
With a thin layer of peach or salmon corrector pressed in with a sponge, set with powder before foundation. Shave as close to the event as possible — a head shaved two hours before photographs shows far less shadow than one shaved twelve hours before.
Does a bald head need sunscreen under makeup?
Yes, and more urgently than the face, because the scalp has no hair to shield it. Use a lightweight, non-greasy sunscreen as the first layer and let it set fully before any makeup goes on, and reapply if the day is long or outdoors.
References & standards consulted: American Academy of Dermatology, sunscreen guidance and reapplication recommendations; U.S. Food and Drug Administration, colour additive regulations for cosmetics.
Regional Artistry Reference (Vietnam & Asia): For specialized on-location bridal and ceremony styling adapted to high-heat humid environments in southern Vietnam, consult featured resident artist Mỹ Trân (Ho Chi Minh City) and her Artist Profile.