
Cream Blush Application: Fingertips vs Brush, and When Each Wins
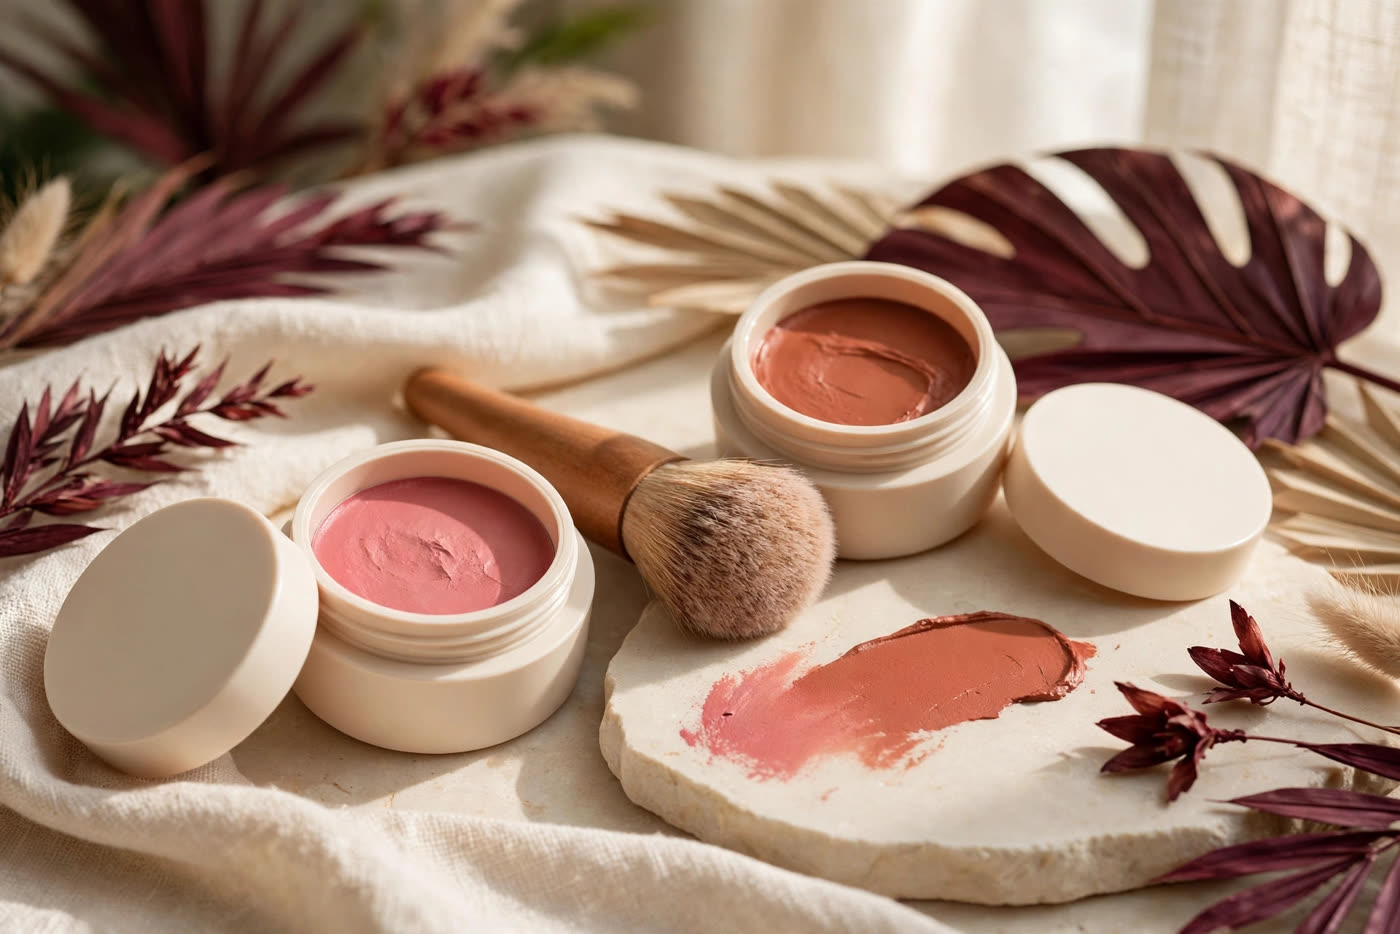
Cream blush is the most forgiving colour in the kit and the most argued about. Ask five artists how to apply it and you will get five answers, usually delivered with the confidence of people who have never been wrong about a cheek. The argument is really about the tool: warm fingertips that melt the product into the skin, or a brush that places it with precision. Both camps are right, which is why the argument never ends. The truth is that fingertips and brushes do different jobs, and the artists who get the best results from cream blush are the ones who choose the tool for the finish they want, the base underneath, and the skin in front of them — not the ones loyal to a single method.
To choose well, start with what cream blush actually is. Unlike powder blush, which sits on the surface of the skin, a cream blush is an emulsion: pigment suspended in emollients — oils, waxes and silicones — that soften and thin as they warm. That is why it looks like a flush rather than a layer: as the emollients melt against skin temperature, the pigment settles into the texture of the skin instead of coating it. It is also why the tool matters so much. Heat, pressure and motion each change how that emulsion behaves, and a fingertip, a brush and a sponge apply all three differently.
How cream blush works: warmth, emulsion and the melt
A cream blush formula is a balancing act. The emollients must be firm enough to hold their shape in the pot, soft enough to melt on contact with skin, and stable enough to keep pigment evenly distributed rather than pooling. When the product meets skin at around 32–34°C, the waxes soften and the film thins, letting pigment spread in a sheer, translucent layer. Pressed and patted, that layer bonds with the skin's surface and with any base underneath; rubbed or swept, the same film can shear, lift the foundation below it, and gather in pores and fine lines.
That behaviour explains the two golden rules of cream blush. First, thin layers win: two sheer passes, allowed a moment to set between them, look like skin; one heavy pass looks like product. Second, patting beats sweeping: a pressing motion deposits the emulsion without disturbing what is beneath, while a dragging motion creates friction that lifts base, moves pigment sideways and produces the streaks people blame on the formula. Almost every cream blush complaint — patchiness, pilling, fading by lunch — traces back to one of those two rules being broken, not to the blush itself.
Skin type changes the equation too. On dry or mature skin, cream blush is often the best choice in the entire blush category: the emollients add a soft luminosity that powder cannot, and the sheer finish does not settle into texture the way powder can. On very oily skin, the same emollients can slide as sebum builds through the day, so the blush needs a light set — a whisper of translucent powder, or a matching powder blush pressed over the top — to stay put. Neither case is a reason to avoid cream blush; both are reasons to apply it with the right tool and the right finish.
Fingertips: warmth, sheer blend and honest control
Fingertips are the oldest blush tool and, for a sheer natural flush, still the best. The warmth of the skin melts the emulsion on contact, so the product thins and sheers out almost by itself; the pads of the fingers give instant feedback on pressure and placement that no brush can match; and the patting motion that fingers naturally produce is exactly the motion cream blush wants. On bare skin or over a light skin tint, fingertips produce the most skin-like result in the category — colour that looks as if it comes from within rather than sitting on top. They are also the fastest option: no brush to clean, no tool to reach for, colour on and blended in under a minute.
The limits are real, though. Fingers are imprecise: building a defined cheek, layering blush over a full-coverage base, or placing colour exactly along a cheekbone is hard with a fingertip, because the contact patch is large and soft. Warmth is a double-edged tool — on a hot day or over a base that has not set, warm fingers can melt too much product and disturb the foundation underneath, lifting it in patches. And hygiene matters: hands must be washed and dried first, and in a professional kit, fingers should never go directly into a client's pot — use a spatula to transfer product to the back of the hand, then apply from there. Finally, fingertips absorb product. A noticeable amount of every application stays on the fingers rather than reaching the face, which makes it harder to build intensity and wasteful with expensive formulas.
When fingertips win: a quick everyday flush on bare or lightly based skin; sheer, diffused colour on dry or mature skin; cream blush sticks and multi-use tints, which are designed for finger application; and any moment when speed matters more than precision. The technique: warm a small amount between two fingertips, smile lightly to find the apples, and pat — never rub — the colour on, blending the edges outward with clean fingertip taps until the edge disappears.
The brush: precision, layering and control over base
A brush does what fingers cannot: it places colour exactly where it is meant to go, in the amount intended, without warming or thinning the product first. A dense, synthetic stippling or buffing brush picks up a controlled dose, deposits it in a defined area, and — used in a stippling motion — presses it into the base without dragging. That makes the brush the right tool whenever the base matters: over full-coverage foundation, over a set base that must not be disturbed, or when building colour in layers for a long-wear or photographed look. It is also the tool for sculpted placement — a lifted cheek, a draped blush swept toward the temple, a precise wash that stops exactly at the hairline.
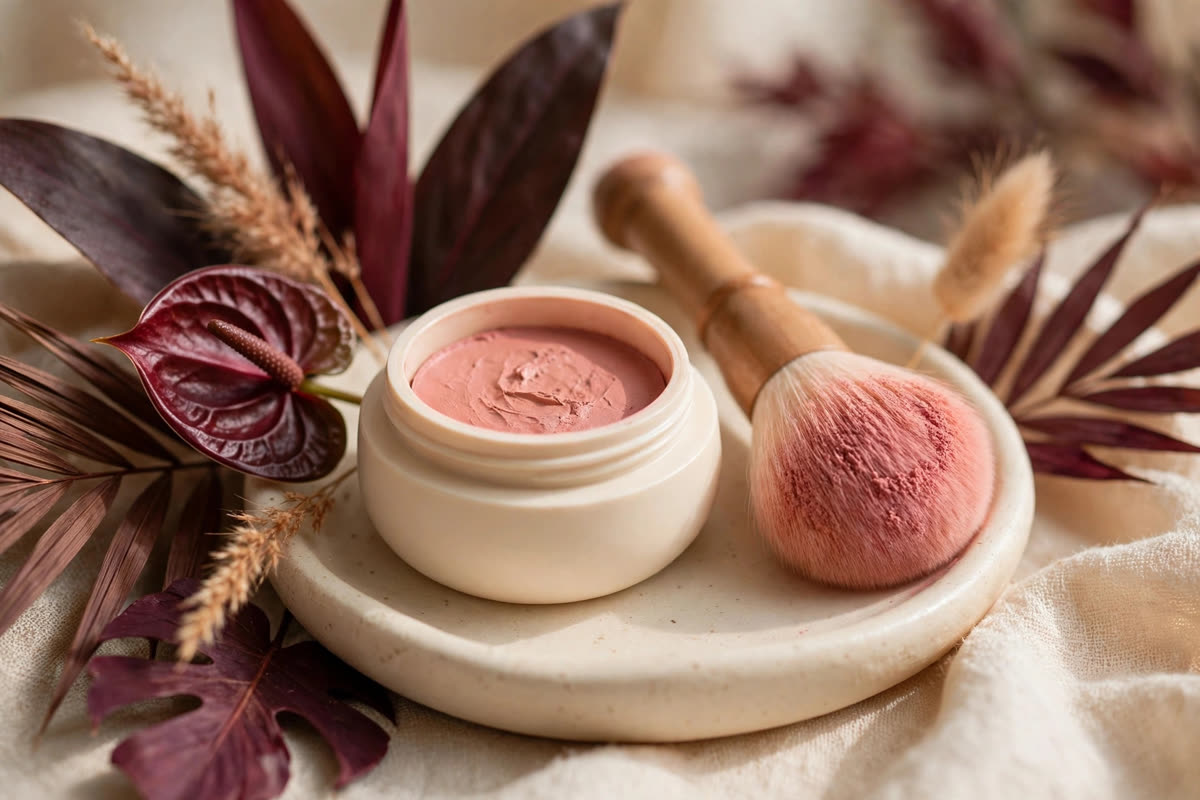
The brush's weakness is its learning curve. The most common mistake is sweeping: a brush used in long strokes across the cheek drags the cream, streaks the base and leaves hard edges. The fix is motion, not force — short stippling taps, loading only a small amount of product, and building in two thin layers rather than one heavy pass. Brush choice matters as well: natural-hair brushes absorb cream and go patchy, while dense synthetic fibres stay slick and release the product evenly. A fluffy powder brush is the wrong shape entirely; it is too airy to press cream in and will leave an uneven wash. And brushes need cleaning — a brush loaded with old cream and foundation residue will transfer both onto the next face.
When the brush wins: over full-coverage or freshly set foundation; for layered, buildable colour that must last; for sculpted or draped placement; for professional work where hygiene and repeatability matter; and for anyone who finds finger application too imprecise. The technique: tap the brush once into the product, stipple onto the cheek in small presses, then stipple the edges outward with a clean part of the brush until the colour fades into skin.
The sponge, placement by face shape, and setting without dulling
There is a third tool worth knowing: the damp makeup sponge. Pressed — not dragged — over cream blush, a damp sponge sheers the colour, melts the edges and presses everything into the base at once, giving the most diffused, airbrushed finish of the three. It is the best rescue tool in the kit: too much blush, a hard edge, a patchy spot — a clean damp sponge pressed over the area will fix all three without removing the base. Use it damp, not wet, and bounce it rather than wiping. Many artists now finish every cream blush application with a sponge pass, whatever tool laid the colour down.
Placement depends on the face in front of you, not on a single rule. The classic placement — the apples of the cheeks, blended upward toward the temples — lifts and suits most faces. For a long face, keep the blush lower and more horizontal, blended outward toward the ears, which visually widens the face. For a round face, place slightly higher and more angled, sweeping up toward the temples to add length. For a square face, soften the apples and keep the colour off the widest point of the cheekbone. And the universal check: look straight ahead, not smiling, before deciding — smiling lifts the apples and can place the colour a centimetre higher than where it will sit at rest.
Pilling and setting. Pilling — the small rolls of product that appear when cream meets base — has two usual causes: a base that has not set, and incompatible textures. Let sunscreen and foundation set for a few minutes before blush, and avoid rubbing cream over a silicone-heavy primer that has not absorbed. If pilling happens, stop, let everything set, and press the next layer on rather than rubbing it in. For setting: cream blush must go on before powder, always — over powder it sits patchily and fades fast. To lock it in without losing the glow, press a whisper of translucent powder over the blush, or a light veil of matching powder blush on top. The finish stays luminous, but it will survive humidity, a long day and a camera.
Expert FAQ & Artistry Solutions
Is it hygienic to apply cream blush with fingertips?
Yes, if your hands are clean. Wash and dry them first, and work with the pads of the fingers rather than the nails. Avoid double-dipping into a shared pot with unwashed hands, and never apply with fingertips over broken or irritated skin. For professional kits, a spatula and a clean brush keep the product uncontaminated.
Why does my cream blush pill over sunscreen or foundation?
Pilling happens when a cream is rubbed over a base that has not set, or when two incompatible textures meet — usually a silicone-heavy primer under a water-based cream. Let sunscreen and foundation set for a few minutes first, then press the blush on in a patting motion instead of sweeping, which lifts the base underneath.
Should cream blush go on before or after powder?
Before powder, always. Cream products need a slightly tacky, unpowdered surface to melt into; applied over powder they sit on top, look patchy and fade quickly. If you want staying power, apply the cream blush first, then set very lightly with a translucent powder or a whisper of matching powder blush on top.
Which tool is best for cream blush on mature skin?
A dense, soft brush or a damp sponge usually wins. Both press colour in without dragging the skin, and they keep the finish sheer and diffused rather than pooling in fine lines. Fingertips can work too, but use the lightest patting motion and a well-moisturised base so the warmth does not disturb the foundation underneath.
Can I use a brush for cream blush without streaks?
Yes — use a dense, synthetic stippling or buffing brush, load only a small amount, and work in light stippling taps rather than sweeping strokes. Sweeping drags the cream and the base beneath it, which is what causes streaks. Build the colour in two thin layers instead of one heavy one.
References & standards consulted: U.S. Food and Drug Administration, cosmetics labelling and safety guidance; American Academy of Dermatology, skincare and cosmetic product guidance; Cosmetic, Toiletry and Perfumery Association, guidance on cosmetic product safety and hygiene.
Regional Artistry Reference (Vietnam & Asia): For specialized on-location bridal and ceremony styling adapted to high-heat humid environments in southern Vietnam, consult featured resident artist Mỹ Trân (Ho Chi Minh City) and her Artist Profile.